分享兴趣,传播快乐,
增长见闻,留下美好!
亲爱的您,这里是LearningYard新学苑。
今天小编为大家带来的是<谈ps系列(31)|ps渐变工具讲解。
Share interest, spread happiness,
Increase knowledge and leave good news!
Dear you, this is LearningYard Academy.
What Xiaobian brings to you today is<Talk about ps series (31) |Ps Gradient tool explanation.
PART.1.
一、回顾:参考线与测距离
在我们学习今天的知识前,回顾下上期所学的知识点:参考线与测距离。ps中参考线的定义:参考线是以浮动的状态显示在图像上方,常与“标尺”共同使用,可以帮助用户精确地定位图像或元素。在测定时,需要点开视图中的智能参考,可以帮助我们进行尺寸的测定。
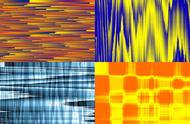
今日我们讲解渐变工具。渐变色就是一个颜色向另一个颜色的过渡。渐变工具在左侧工具栏如下图所示。

1、 Review: Reference line and measuring distance
Before we learn today's knowledge, review the knowledge points we learned in the previous period: reference line and measuring distance. Definition of reference line in ps: the reference line is displayed above the image in a floating state, and is often used together with the "ruler" to help users accurately locate the image or element. When measuring, we need to open the intelligent reference in the view to help us measure the size.
Today we will talk about gradient tools. A gradient is a transition from one color to another. The gradient tool on the left toolbar is shown below.
二、渐变工具属性栏讲解
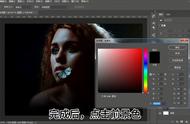
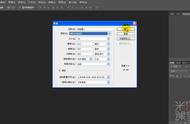
选择渐变工具,上方属性栏如下图所示,从左至右,第一个有渐变颜色的长方框与所选前景色和后景色有关,通过在色板上拖拽线条即可选择渐变方向。摁住shift可以选择100%的横向和纵向以及固定的角度。
渐变工具有以下注意点:
1、渐变工具只能对位图图层生效;
2、渐变工具是“一次性”的,及一个图层只能使用一次渐变,不能叠加使用,只能创建新的图层使用渐变工具。


